
How to run multiple versions of Rails on Heroku

Imagine having the ability to deploy the next version of Rails in a dual booted application on your Heroku staging server or review app before deploying it to production. This capability can help you avoid bugs and downtime in your live environment. In this blog post, we will guide you on how to deploy a Rails upgrade to a staging environment, allowing you to thoroughly test it before it goes live.
At FastRuby.io, we excel at upgrading Rails applications with minimal downtime and surprises. The key to our approach is a method known as dual booting, a subject we have delved into in detail in a previous blog post . By making minor changes to your Gemfile, you gain the ability to run a different version of Rails. This empowers you to identify and address compatibility issues proactively.
Heroku provides a wealth of features, such as monitoring, metrics, CI/CD, database services, and a powerful CLI tool, making it a widely used platform to host Rails applications.
Heroku buildpacks
A buildpack is a set of scripts that retrieve dependencies, generate assets and build/compile our application code. Buildpacks play an essential role in deploying applications on Heroku. These are the three main scripts that can be found in a buildpack:
- bin/detect: Determines whether to apply this buildpack to an app.
- bin/compile: Used to perform the transformation steps on the app.
- bin/release: Provides metadata back to the runtime.
A buildpack targets a specific tech stack and Rails applications will typically use the Heroku Buildpack Ruby . This Ruby buildpack can be used for Rack, Ruby and Rails projects, it uses Bundler for dependency management and a 64-bit Linux infrastructure.
The Heroku Buildpack Ruby runs when your application contains a Gemfile and Gemfile.lock files in the root directory. This buildpack will process it by running bundle install during deployment.
Dual booted heroku app commands
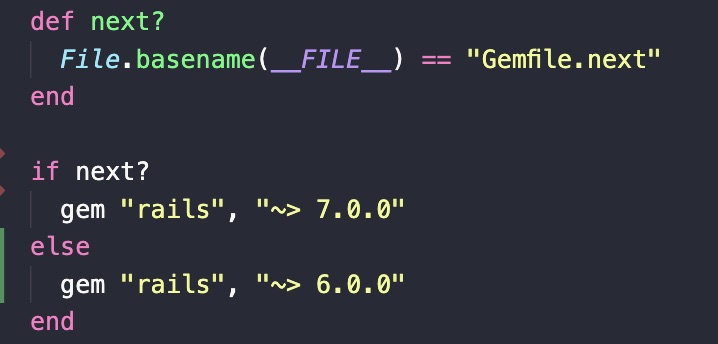
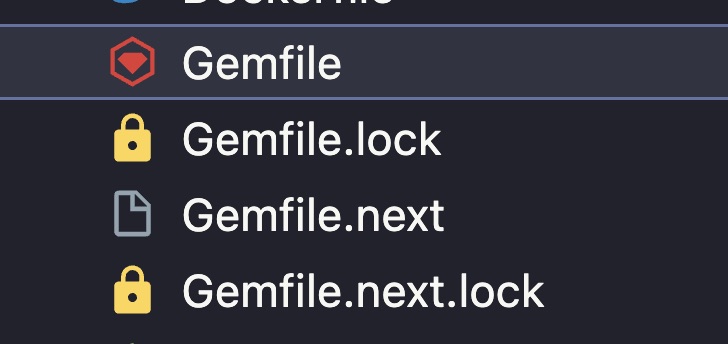
In a dual booted Rails application, it is common to define a next? method in the Gemfile. This method allows us to separate the dependencies that are compatible with the current Rails version from those required for the upgrade version. By following the dual booting steps, our application will have a Gemfile.next and Gemfile.next.lock, as illustrated in the images below.
In the development environment, we use our next command to execute any bundle command with the gems from Gemfile.next, or we can also prepend the commands with BUNDLE_GEMFILE=Gemfile.next.
Once the application has the dependencies for the next version installed, it should be able to run commands like rails console using the next command.
next rails console
Or defining the BUNDLE_GEMFILE environment variable:
BUNDLE_GEMFILE=Gemfile.next bundle exec rails console
The BUNDLE_GEMFILE environment variable can also be used in the Heroku console:
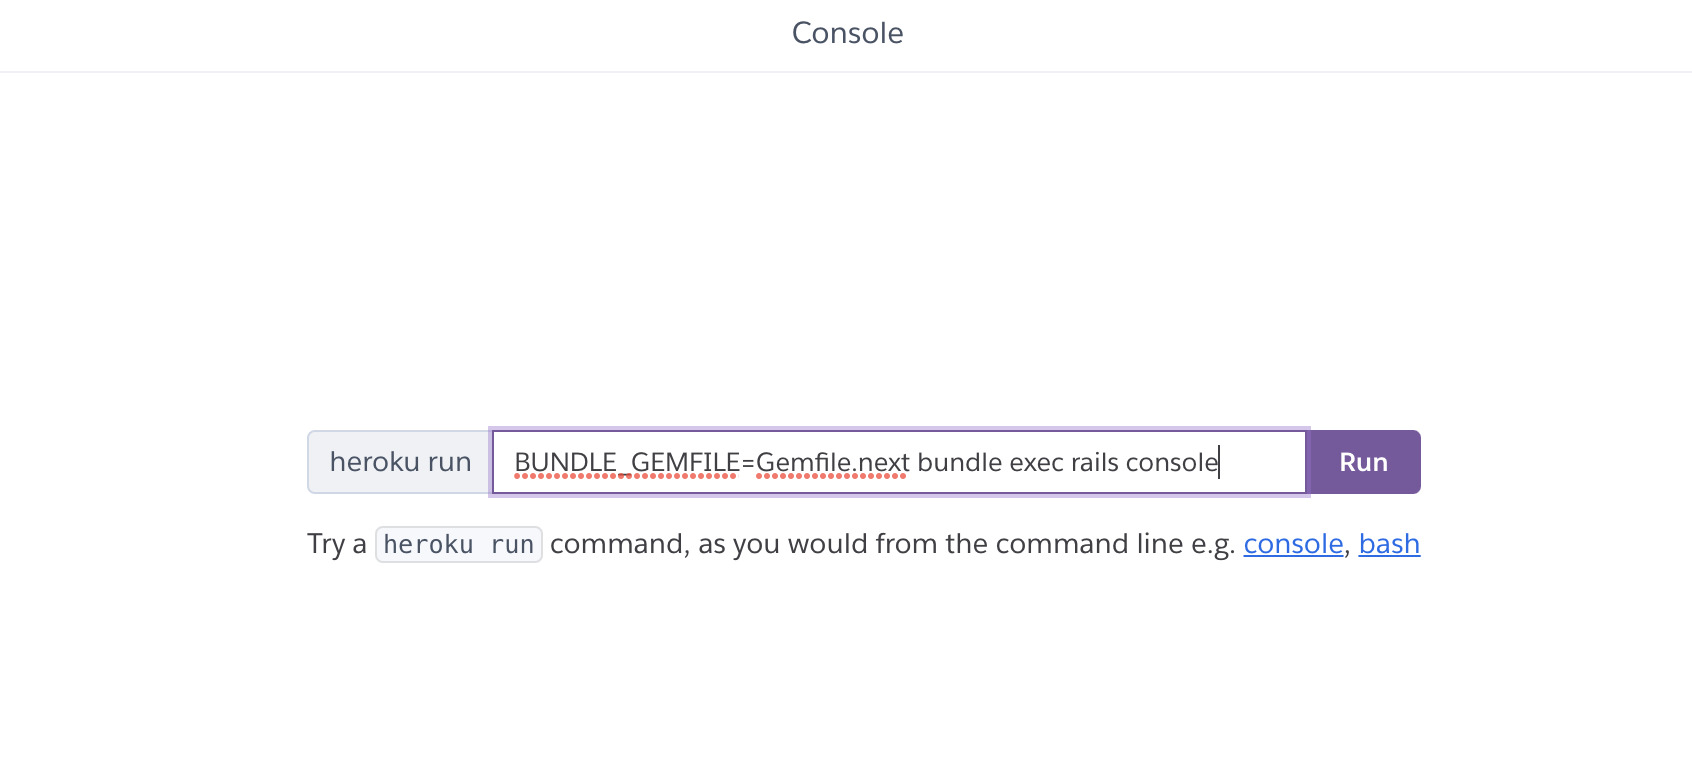
Or in the CLI:
heroku run -a MY_APP BUNDLE_GEMFILE=Gemfile.next bundle exec rails console
If the application has its dependencies installed, it should open the console with the next Rails version.
Deploying your application to a Heroku pipeline that uses the Heroku Buildpack Ruby will not use the next Rails version (Rails 7 in this example), even if you set the BUNDLE_GEMFILE environment variable. Your application will need a different buildpack that can tell Bundler to use Gemfile.next as the starting point.
Next buildpack
At FastRuby.io we have forked the Heroku buildpack multiple gemfiles repository which is based on the Heroku Buildpack API. This buildpack will allow Heroku to use your Gemfile.next to build your application in the next version.
Inside of bin/detect we search for the Gemfile.next file created in the dual boot process and let the user know we detected this file by adding a warning to the build log.
The bin/compile script prefixes the bundle install command with BUNDLE_GEMFILE=Gemfile.next, which is exactly what we need to boot the application using a different Gemfile.
Next buildpack simple setup
To add a buildpack to a Heroku application, you can set it in the app.json file for applications created via Heroku Dashboard, Heroku CI or Review Apps.
In app.json:
...
  "buildpacks": [
      {
        "url": "heroku/ruby"
      },
      {
        "url": "https://github.com/fastruby/heroku-buildpack-multiple-gemfiles"
      }
    ],
...
For other existing apps, the Heroku CLI should be used to add a buildpack:
heroku buildpacks:add -a MY_APP https://github.com/fastruby/heroku-buildpack-multiple-gemfiles
The buildpack can also be added using the “Settings” tab in Heroku’s Dashboard:
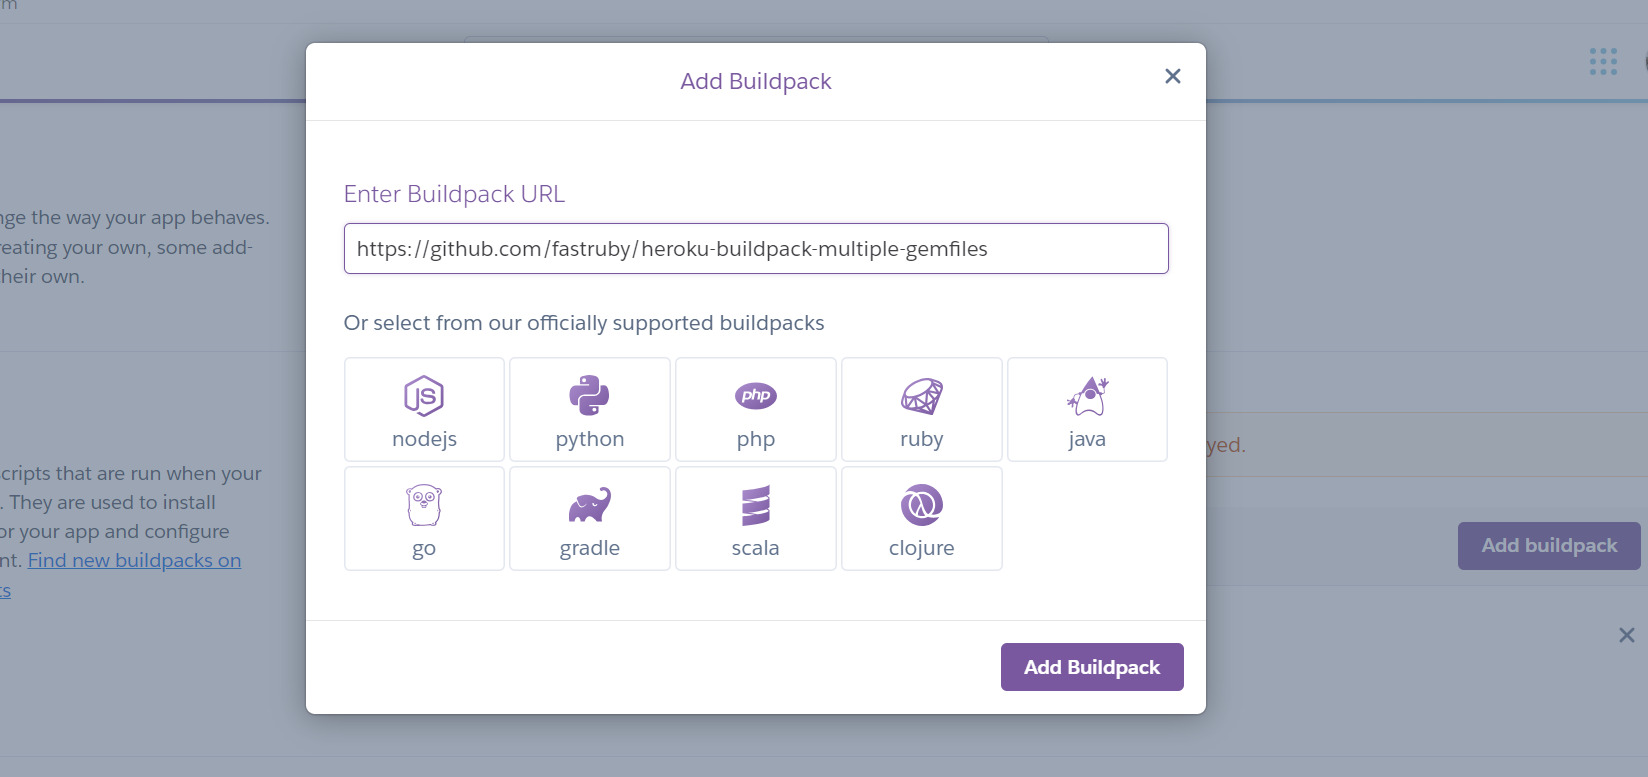
Once added, we can check in the application’s “Settings” tab if the buildpack is listed:

If it’s listed, check your environment variable in the “Settings” tab in your Heroku dashboard, define your DEPENDENCIES_NEXT_DYNOS variable and the buildpack will know which dynos it will deploy to the next version of your application.
To specify which dynos use Gemfile.next, set the DEPENDENCIES_NEXT_DYNOS environment variable to a comma-separated string of dyno names with glob/wildcard (*) support.
DEPENDENCIES_NEXT_DYNOS=*would cause all dynos to use Gemfile.next.DEPENDENCIES_NEXT_DYNOS=worker.1,scheduler.*,web.*,run.*would cause worker.1 and all scheduler, web and one-off run dynos to use Gemfile.next. All other dynos would use Gemfile.DEPENDENCIES_NEXT_DYNOS=web.5,web.6,worker.3would cause dynos web.5, web.6, and worker.3 to use Gemfile.next. All other dynos would use Gemfile.
Once DEPENDENCIES_NEXT_DYNOS is defined all you need to do is to re-deploy your application, and you should see gems being installed from Gemfile.next.
Now that our application is running a new version of Rails, it is very likely that the build process will fail. Review the build and release logs to determine why the failure occurred. This is a crucial step as it helps us eliminate issues before we attempt to deploy to a production environment.
Conclusion
Heroku buildpack building from a different Gemfile can be very helpful during the upgrade process. It allows developers to check the deployment process for the next planned version and test a real application in a review environment.
Having support to deploy from a different Gemfile for specific dynos is also a very nice opportunity to check how installed add-ons, like workers and application monitors, would behave in the next planned version.
Happy Coding!